Tuesday, August 31, 2010
Creative Set-up with Bird's Nest Fern
Monday, August 30, 2010
Am I Alone in This?
Is anyone of you out there like me? I mean worrying about your plants or the weather when you are away? I was so worried that I may not be able to find someone to help me water my plants when we will be away from home for 5 days. In the current heat that we are experiencing, we need to water the plants twice a day. So what am I to do if I am away for so many days?
Fortunately I brought this matter up to my close friend, Poh, who always helped me to water my plants when I am away. Unfortunately, this weekend, she is heading home to Johor Bahru, thus she can't help me. Poh brilliantly suggested another friend of ours, Krishna, who live on the same row of house as me. Fortunately, Krishna, said yes when I called her early Friday morning before I started my journey home to Melaka. Thanks Krishna for your helping hand, friend! You have helped me a lot!
Sunday, August 22, 2010
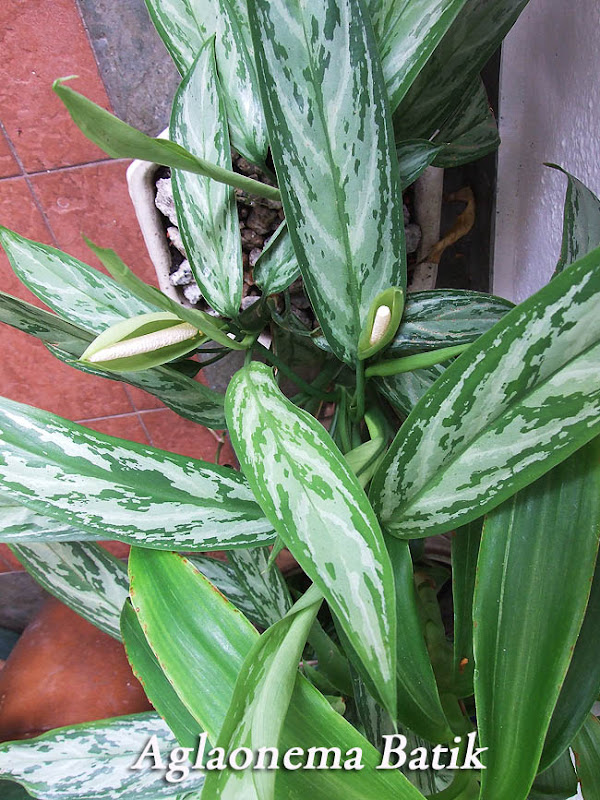
Glorious Aglaonema Batik
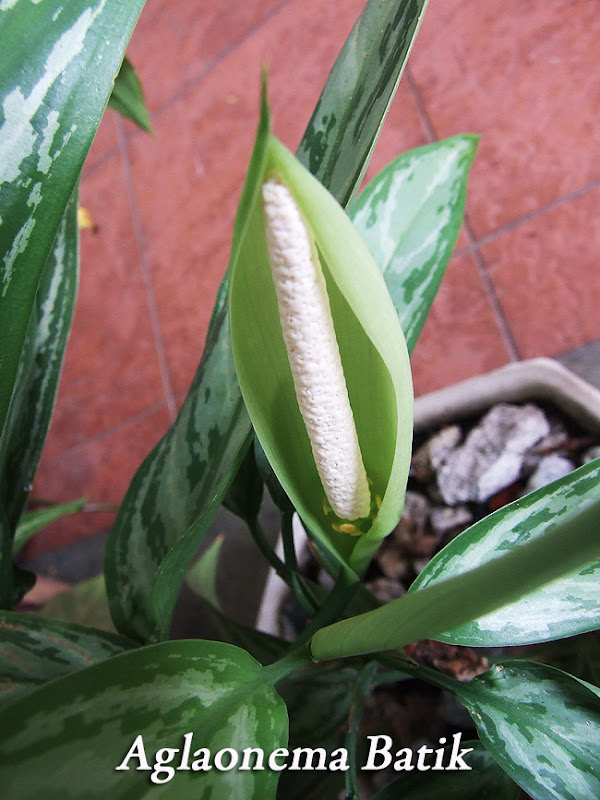
Glorious...glorious...indeed..when Aglaonema Batik has blooms!! I have been keeping this plant for over several years. When we moved to our new place, I transplanted the plant into several pots. Now I am seeing blooms in one of the plants! Oh, they look lovely. It never crosses my mind to check about Aglaonema Batik (some called it Snow Queen) and its blooming habit. So, it's really a surprise when I see them blooming. The blooms are very similar to Peace Lily.
It is said that the blooms will give adverse effect to the Aglaonema plant. This is because the flower production process consumes a lot of energy (nutrients) from the plant. As a result, the plant will produce new leaves that are smaller, sometimes distorted and lacking in color appearing pale. Thus, the flowers are usually cut off and not allowed to bloom.
However, I am quite reluctant to cut off the flower as this is the first time my Aglaonema plant is blooming. So, I am going to keep the flowers. Will shower the plant with lotsa tender, loving care to ensure it will not suffer from the effect of producing these flowers. Hope some fertilizer will help it recover from the loss of nutrients. Cross my fingers!
Blooming Marigold
Sunday, August 15, 2010
A Lesson on Impermanence
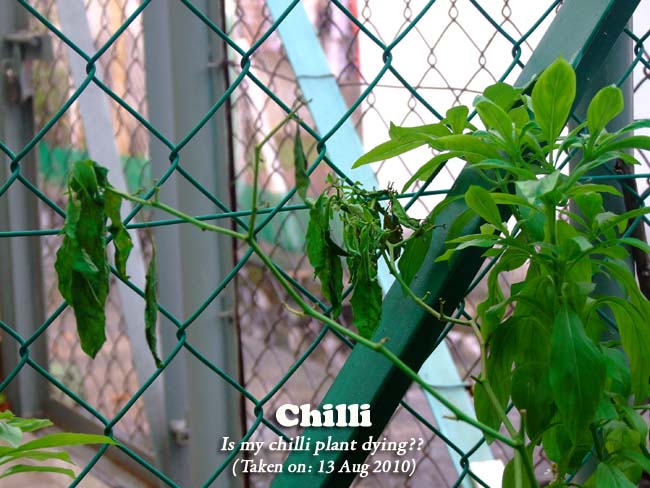
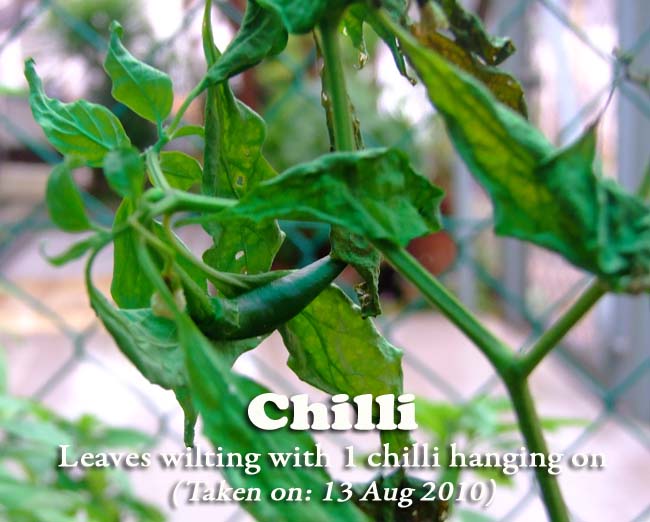
I shared the incident of my chilli plant with 2 friends whose parents love growing vegetables. They said chilli is a plant with lotsa pest problems, similar to tomatoes. And a good way to get chilli to grow is to provide it with nitrate. We can get natural nitrate by diluting one part of our URINE (yup, URINE!) with 10 parts of water. That's another organic fertilizer for chilli to grow well.
Another tips in growing vegetable is to sprinkle some sea salt around your vegetable plants. The sea salt is sodium hydrochloride and this sodium is also another form of nutrient required by plants.
I wondered if anyone has tried both the above before.
Saturday, August 14, 2010
Kangkung Sprouting!!!
Kangkung stir-fry in sambal belacan is also one of my favourite dishes. Yum....yum.....
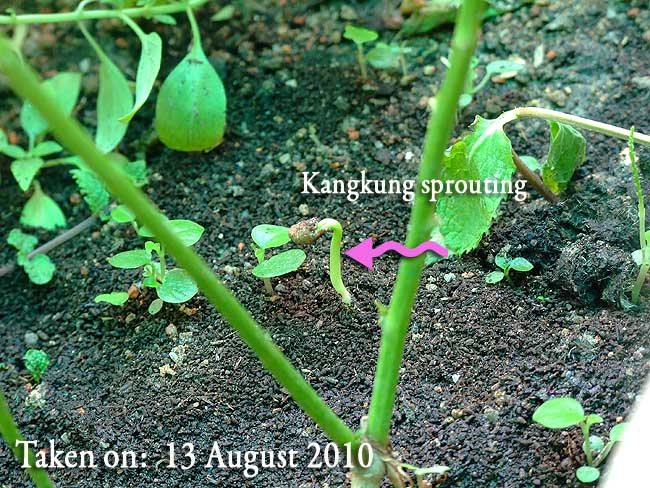
Since I love kangkung, why not grow some in my garden? I would love to but I didn't know how. It was my neighbour, Aunt Thoong, who told me that she has grown some kangkung from roots. The kangkung roots were obtained from the kangkung that she bought from the market. Just plant the roots into soil and they grow easily. Aunt Thoong's experience triggered the interest in me to grow this plant.
On the 4th day, the seeds have germinated into seedlings. Really fast, huh?
Friday, August 13, 2010
A Herb by Any Other Name....
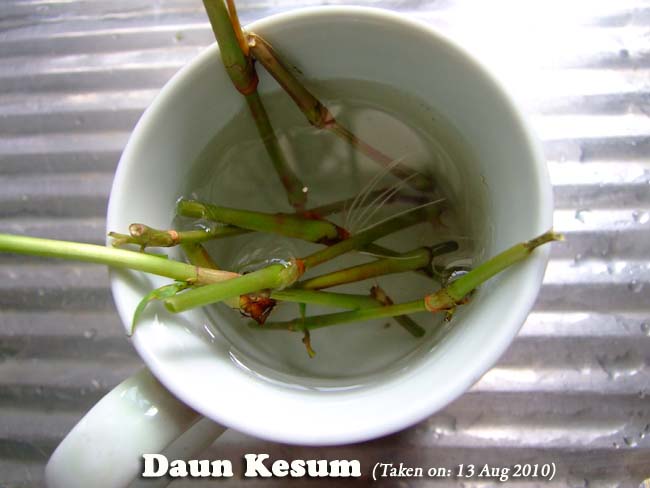
Three days ago, I bought some daun kesum for cooking the Assam Fish dish. My next door neighbour, has a pot of healthy daun kesum. She told me to pluck them as and when I need them. However, that day when I called her from my backyard, she couldn't hear me. I wanted to ask her for some daun kesum. Since I have just moved to this neighbourhood recently, I am a bit uncomfortable to call out too loud and also in case I awaken her from her nap. Alas, I got some daun kesum from the mini market nearby.
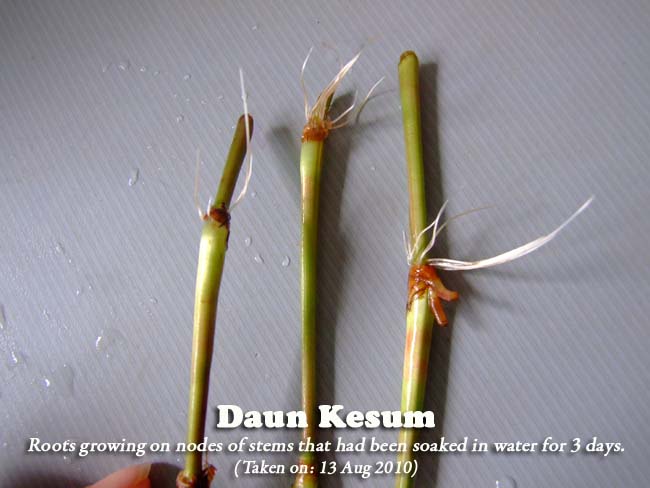
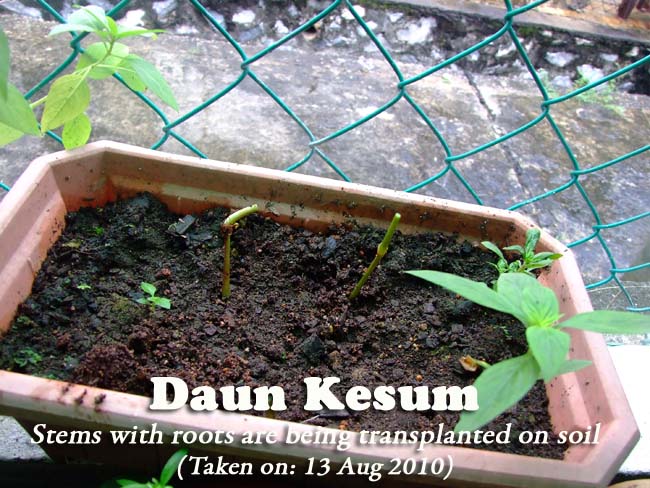
I kept some of the stems from the daun kesum and placed them in a cup of water. After 3 days, some roots have grown from the nodes of the stems. Today I placed 3 stems into the soil to grow. From the internet, I learnt that daun kesum needs plenty of sunlight and it is best to keep the soil moist at all time. Organik fertilizer can be added fortnightly. With good care and enough water, I would see shoots growing in a week. Wow, I am looking forward to that!
Tuesday, August 10, 2010
Creativity + Moving Forward
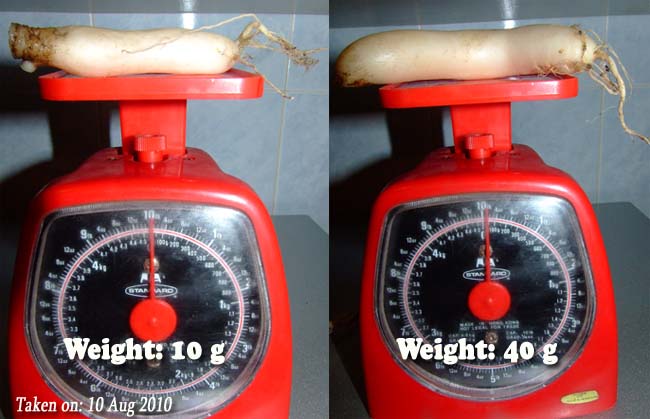
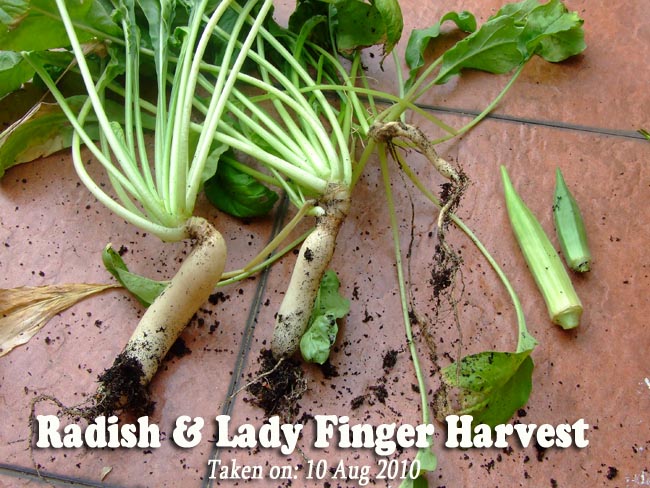
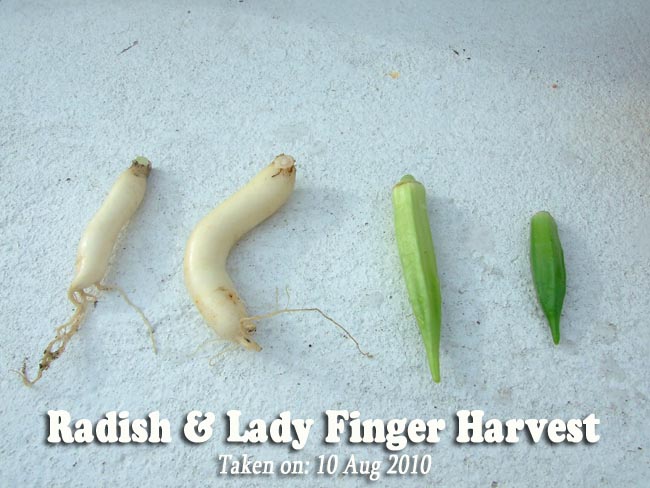
My radishes were really small in size. Compare them with the sizes of radishes grown by these children who are members of Earth Club in Japan who grew the Sakurajima Daikon. Their radishes weighed at least 900 grammes! Ha! Ha! I still have a long way to go to reach that size!!

------------------------------------------------------------------------------------------------
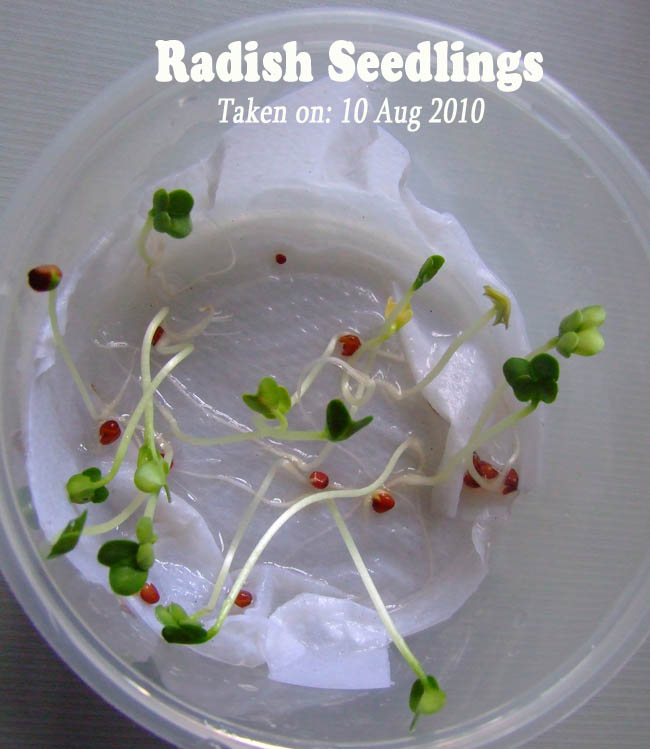
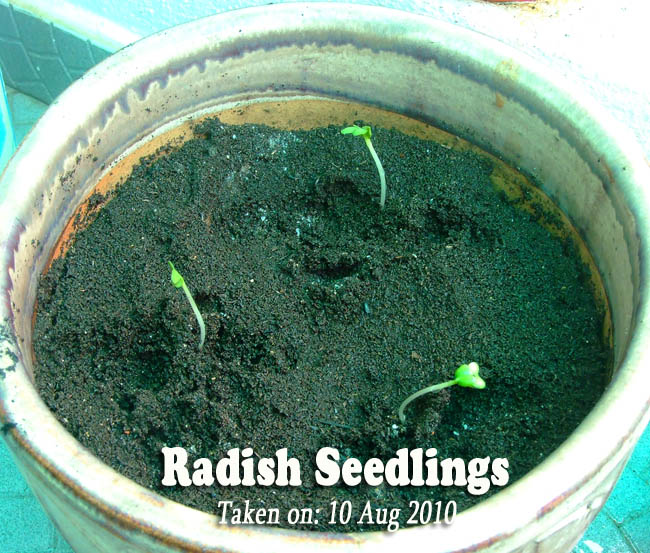
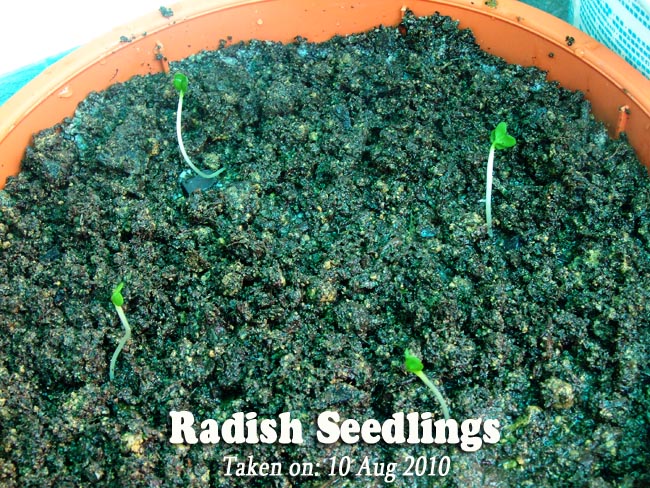
How's the radish seeds doing? All the seeds that I sowed in a plastic container 3 days ago have germinated into seedlings with 4 tiny leaves. Today I transferred them into pots.
Not satisfied with the sizes of radishes that I harvested, I did some internet search to find out how I can improve on its growth.
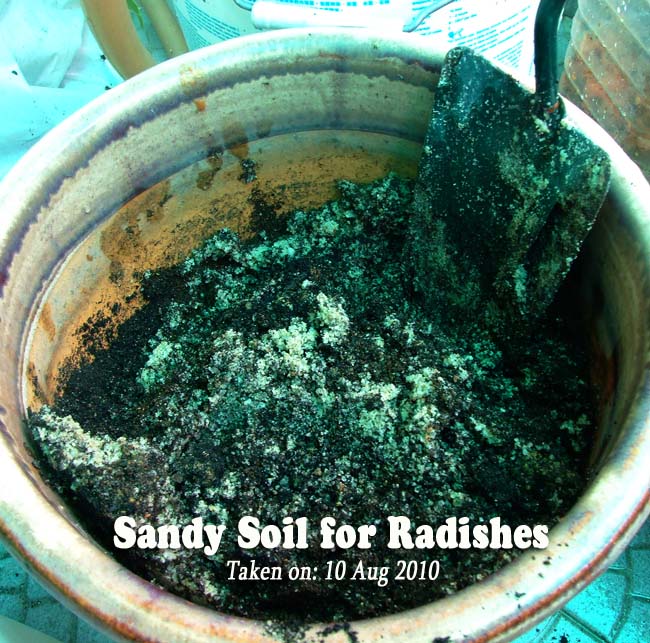
I found out that loose crumbly soil works best for white radish. So I have added some sands and also worm compost to the soil that I previously bought at the United Malaysian Orchid Nursery. My earlier crop of radish was grown in burnt paddy husks (sekam) mixed with cocopeat (habuk kelapa).
That was a crumbly composition that drains very well. But I have run our of them. Probably it's time to visit Sg. Buluh?? My dilemma is where shall I keep a gunny of burnt paddy husks and a gunny of cocopeat??
I also found out that the secret to good radishes is plenty of even moisture. Supply sufficient water to plants without creating waterlogged soil. If allowed to dry out, radishes will taste hot.
What fertilizer is suitable for radish? Organic or NPK chemical fertilizer?
I have used organic fertilizer to grow my first batch of radish. According to the internet, many organic fertilizers have a higher concentration of nitrogen. Nitrogen increases leafy growth and root size during the initial growth stage of a radish. It also increases the rate of growth, allowing radishes to be harvested earlier. However, an excessive amount of nitrogen may cause leaf growth at the expense of root size. That explains why I have bushy radish leaves and stringy tubers.
Phosphorus stimulates root development and growth, which leads to a fleshier radish root. A lack of phosphorus in radish plants leads to stunted growth and poor yields.
Whereas, Potassium reduces water loss by the plant and reduces stress due to droughts. This is important for radishes, because excessive water loss and drought can cause the root to crack, resulting in stunted and poorly formed roots. Potassium also increases root growth, which results in larger radishes.
That means I will need Nitrogen (N) nutrient at the beginning stage of growing radish. That will follow by the increase of Phosphorus (P) and Potassium(K) when the plants are growing. How do I get more P & K nutrients if I would like to continue to use organic fertilizer??? (Mind boggling!)
Seen here are the seedlings that I have transplanted on soil in several pots. I also need to get them into deeper pots if I want to have radishes with bigger tuber.
Monday, August 9, 2010
Facts about Fertilizers
1) Different NPK Values
Do you know that different manure has different value of NPK percentage in it. This information was obtained from the Allotment Vegetable Growing website:
N:P:K Values
=========
Chicken Manure (1.1: 0.8: 0.5)
Sheep Manure (0.7: 0.3: 0.9)
Rabbit Manure (2.4: 1.4: 0.6)
From the figures above, rabbit manure has a higher value of Nitrogen & Potassium nutrients. My friend, Elicia, whose children rear rabbit, uses the rabbit manure to fertilize her herbs patch. Now I can see why her herbs grow so well.
Note: Both cat and dog droppings can carry organisms harmful to human beings. Dog droppings can contain the eggs of the parasitic worm, toxocara, which can also infect humans. Cats can carry toxiplasma, another disease that can be passed on to humans. Accordingly, it is safer to dispose of these elsewhere rather than use them
More information on farmyard animal manures.
---------------------------------------------------
2) Facts about Nitrogen
================
Nitrogen has the shortest life in the soil as it is easily washed out by heavy rain. To increase Nitrogen content in your soil, try to plant legumes (such as peas, groundnuts) . My friend, Chooi, said her mom used to grow groundnuts among her vegetable. Legumes produce their own nitrogen due to a symbiotic relationship with bacteria that fix nitrogen from the air for the plant, which is why peas generally need no nitrogen supplement.
VERY HIGH Nitrogen requirement: cabbages, brussel sprouts, rubharbs
HIGH Nitrogen requirement: beetroots, celery, spinach leeks
MEDIUM Nitrogen requirement: brocolli, cauliflower, lettuce
LOW Nitrogen requirement: asparagus, parsnip, onion
VERY LOW Nitrogen requirement: carrot & radish
NO Nitrogen requirement: peas & broad beans
Light and free-draining soils, usually sandy in composition, lose nutrients more quickly than other types, especially in rainy spells. Apply fertiliser more frequently on these soils, especially nitrogen fertilisers to maintain levels as Nitrogen is easily washed away.
Apply Less Fertiliser for Clay Soils
Heavy clay soils and soils containing a lot of organic matter require less frequent application. This is because both substances act as reservoirs holding the nutrients and releasing them slowly over time to the plants
Very Acid or Very Chalky Soils
Phosphates and potassium become more soluble in acidic soil, making them easier for rain to wash away. In chalky (alkaline) soils, phosphate becomes insoluble when mixed with the calcium present in chalky soils. In both cases, divide the application into two or three and apply over the growing season.
Lime and Fertiliser
Never apply or store fertiliser and lime together. There will be a chemical reaction between the lime and the nitrogen in the fertiliser, making neither effective. Especially when growing vegetables, check and adjust if necessary the pH (acidity) of the soil. Acidic soils may contain nutrients but they are less available to the plants.
Feed at the Right Time
Only add fertilisers to plants before and during the growing season. Applications made after the season will just be washed out of the soil and not do any good unless you use an over-winter green manure crop to hold them for the next season.
Boosting Failing Plants
If plants are showing signs of nutrient deficiency then you can give a boost using liquid fertilisers that are absorbed more quickly by the plant. Sometimes the problem isn't the amount of nutrient available but a lack of micro-nutrients preventing take-up by the plants. Try a spray of seaweed extract or a foliar feed with Epsom salts to release the nutrients. (see Additional Elements in Plant Nutrition)
Make Your Own Liquid Feeds
If you have comfrey (an important herb in organic gardening, having many fertilizer and purported medicinal uses) or nettles available you can make your own liquid fertiliser by adding the leaves into a barrel of water and allowing them to ferment for three of four weeks. This will make a fertiliser high in potash, great for tomatoes and hanging baskets. A high nitrogen liquid feed can be made by suspending a hessian sack of horse or sheep droppings into a barrel of water until the water turns the colour of tea.
Notes on Nettle: The growth of stinging nettle is an indicator that an area has high fertility (especially phosphorus) and has been disturbed. Nettles contain a lot of nitrogen and so are used as a compost activator or can be used to make a liquid fertiliser which although somewhat low in phosphate is useful in supplying magnesium, sulphur and iron.[ They are also one of the few plants that can tolerate, and flourish in, soils rich in poultry droppings.
Controlled Release Fertilisers
When growing in containers or baskets you can use controlled release fertilisers. These gradually dissolve over the growing season ensuring a constant supply of nutrient is available to the plants over the season.
Sunday, August 8, 2010
Seed Pod & More Growth
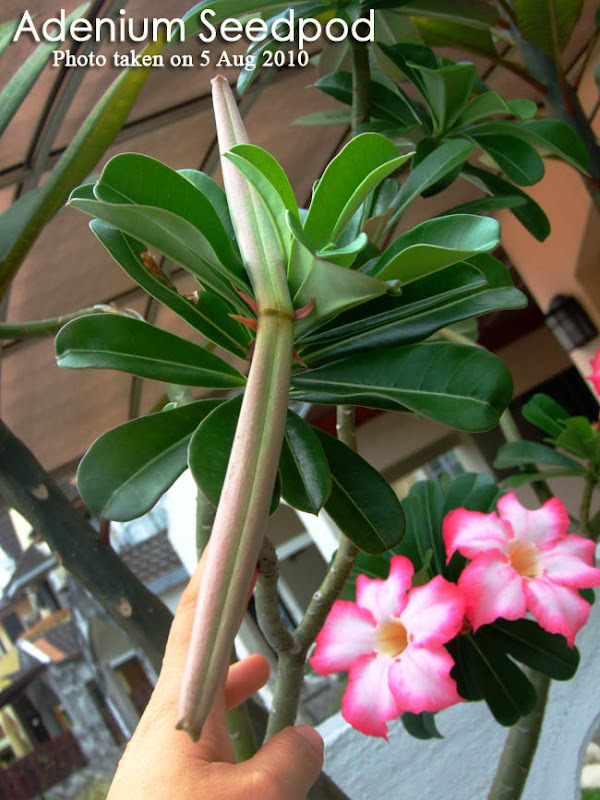
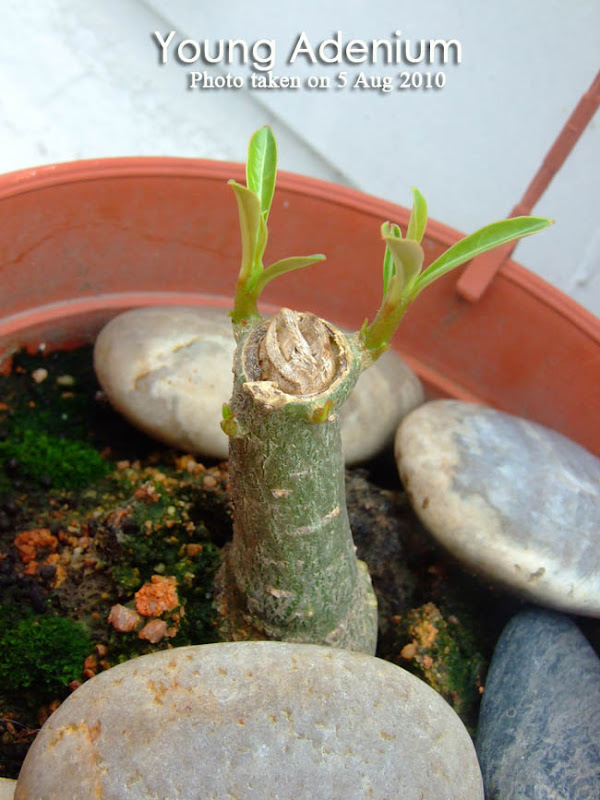
For your info, my success rate in growing Adenium from seeds is only 10-30%. It's really low, right? This plant that you see here was grown from a seed. A young Adenium seedling need a lot of care. Too much water, its roots rot. Too little water, it shrivelled up, dried and died. Nevertheless, I continue to grow Adenium as their beautiful blooms and caudex bring me lotsa joy.
This is another plant that I have grown from seed. After seeing Roxanne's success in growing Adenium with big caudex (root), I decided to follow her method. Prune off the stem when the plant is young. In fact, she pruned her plant when 4 leaves appear. As such, the nutrient will all be channelled to the root. Thus, the root will bulk up. Otherwise, the Adenium will grow to have unattractive thin, long stalk.
This Adenium grows its leaves in about 2 weeks after pruning. I think this is due to the regular rain that we get recently. It is usually advised not to prune Adenium during rainy season as the rain may cause the cut stem to rot. Thus, I have kept my Adenium under shade when it rains and bring it out again when the sun is brightly-shining. Cross my fingers, hope the caudex will grow big.
Saturday, August 7, 2010
Germinating Radish Seeds
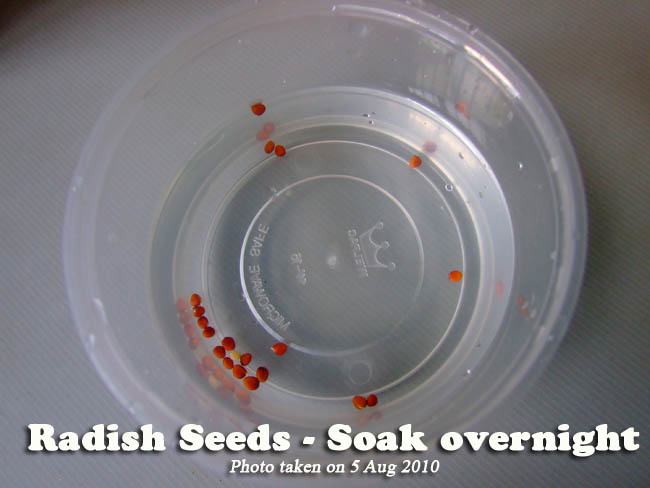
Day 1 - Placed radish seeds in a container of water overnight.
Day 2 - Some seeds had germinated after soaking overnight (as seen in the photo below). Amzingly fast, huh?
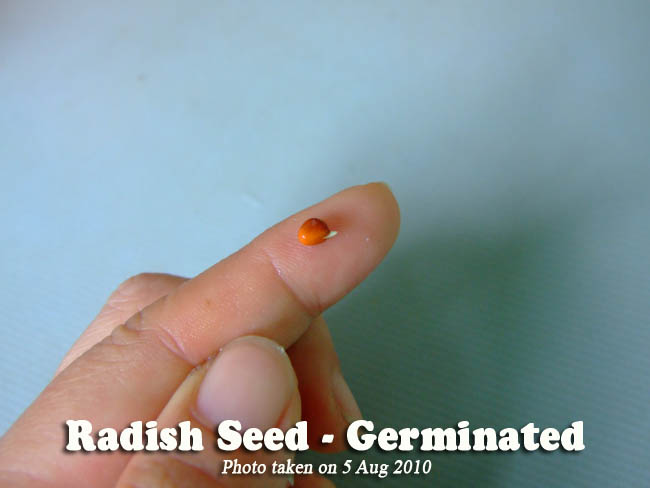
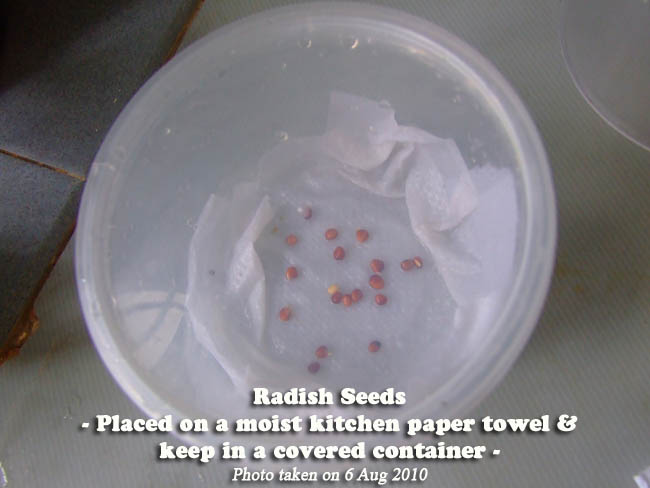
Day 2 - Transfer all the seeds to a piece of moist paper kitchen towel. Place the kitchen towel in a container and keep it covered. Ensure the towel is constantly moist. Sprinkle or spray some water on the kitchen towel if you find it dried up.
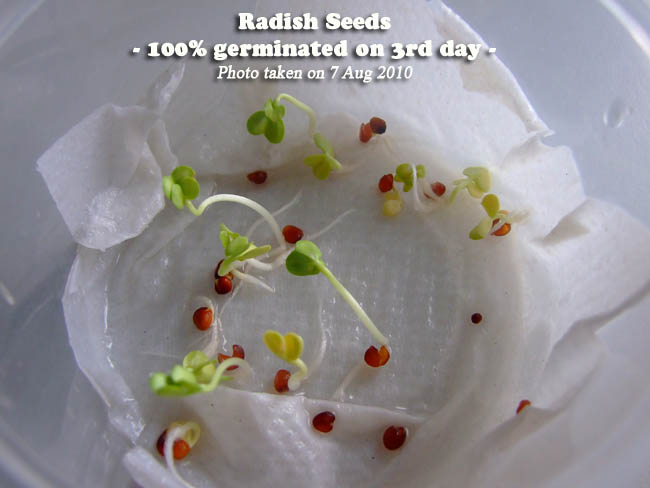
Day 3 - some seeds have sprouted. All seeds germinated. Shells from the seeds remained.
All it took was 3 days!!! Isn't this fast? And 100% germination.
Saw some mouldy, cottony stuff on some seeds. Suspect they are fungus.
I washed them off with water and continue to keep them in the container.
After 4 leaves appear, I will then transplant them into soil.
Thursday, August 5, 2010
Updates From My Garden
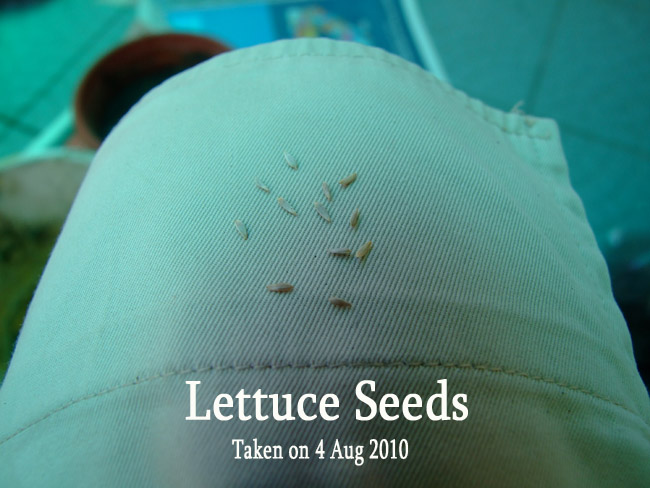
I have sown some lettuce seeds in 2 small pots. These seeds were bought from the Shah Alam's Farmer's Market. I assume it is lettuce as it's written as 'salad' on the plastic bag. 'Salad' is the name commonly use for lettuce.
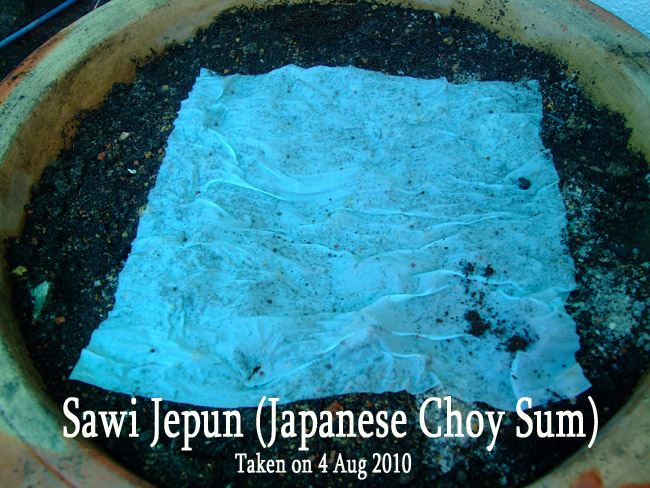
As I have an available big pot, I also take the opportunity to sow some Japanese Choy Sum seeds. These seeds were also bought from Shah Alam's Farmers' Market. In order not to scatter my seeds haphazardly, I lay a piece of tissue in the pot. Wet the tissue. And then lay the seeds in rows. I wanna ensure that the seeds are not placed too close to one another. Then I cover the tissue with a thin layer of worm compost.
A friendly neighbour, Winston, who also grow vegetables in his backyard told me that he adds sand into his soil mix as sand will give better drainage and the soil would be loose and not become compact over time. This loose condition is conducive for vegetables to grow well. So, I went to a nearby hardware shop in USJ1 to buy a packet of sand. Never did I expect that a packet of RM3.50 sand would come in half a gunny sack!! That's a lot of sand! I have added sand and worm compost to the soil mix for my Lettuce and Japanese Choy Sum. In my previous experience of using worm compost on my brinjal, the plant grew extremely fast.
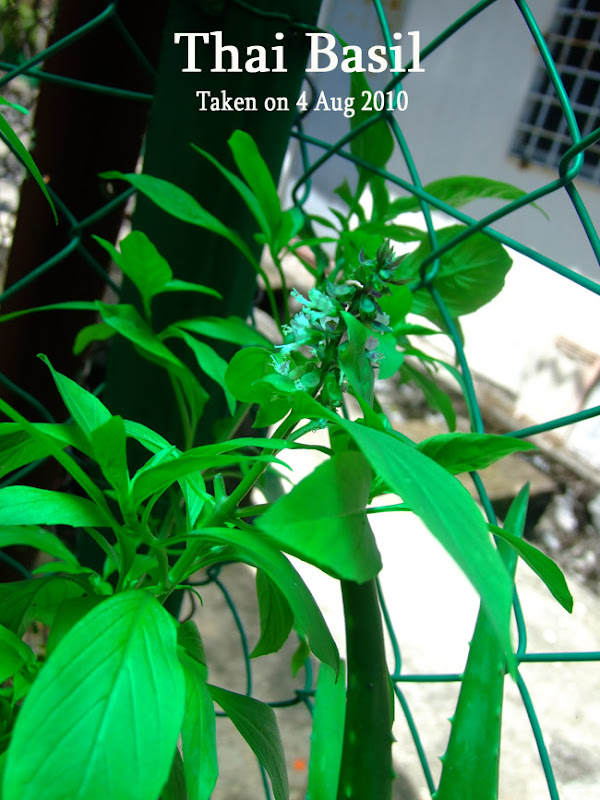
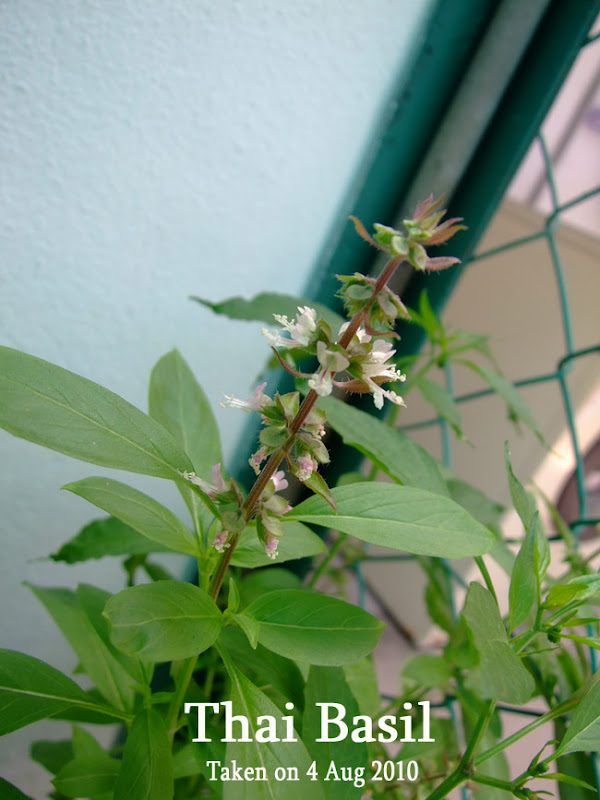
My Thai Basils are growing very well now. The usage of concoction made from pounded garlic, bird's eye chilli & dish washing detergent to fight pests work very well. They are now flourishing and some of them even have blooms on them.
To keep the basil tastiest, prune the blossoms from the end of each stem before the flowers dry out. Basil has a tendency to grow very bitter tasting leaves if the flowers are allowed to mature to seed. Pruning and removing flowers from your basil herb plant will also help it live a longer life. If you leave the flowers to mature, this give sign to the plant that its life cycle has come to an end and the plant condition will just deteriorate and eventually die.
When cutting leaves, stems, and flowers, do not cut more than 1/3 of the plant's foliage. Removing a large amount of plant matter from a basil plant can cause poor root function and stunted growth in the basil plant.
The Thai Basil blooms are so beautiful and I am quite reluctant to prune them off.
But if I don't prune it off soon, it will mean the demise of my healthy basil.
Sorry blooms, you will have to go in a day or two.
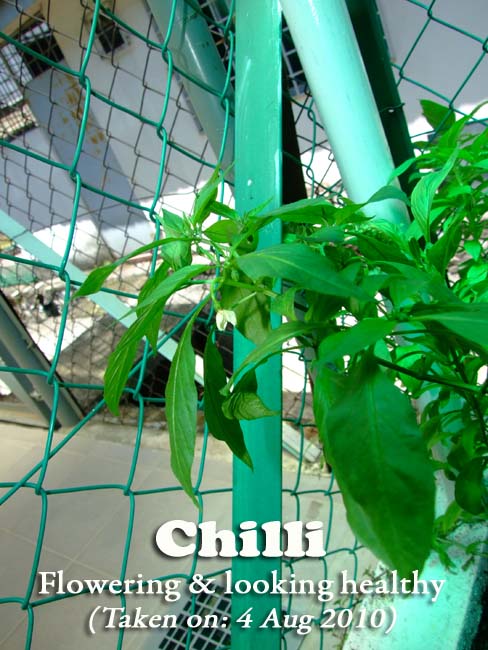
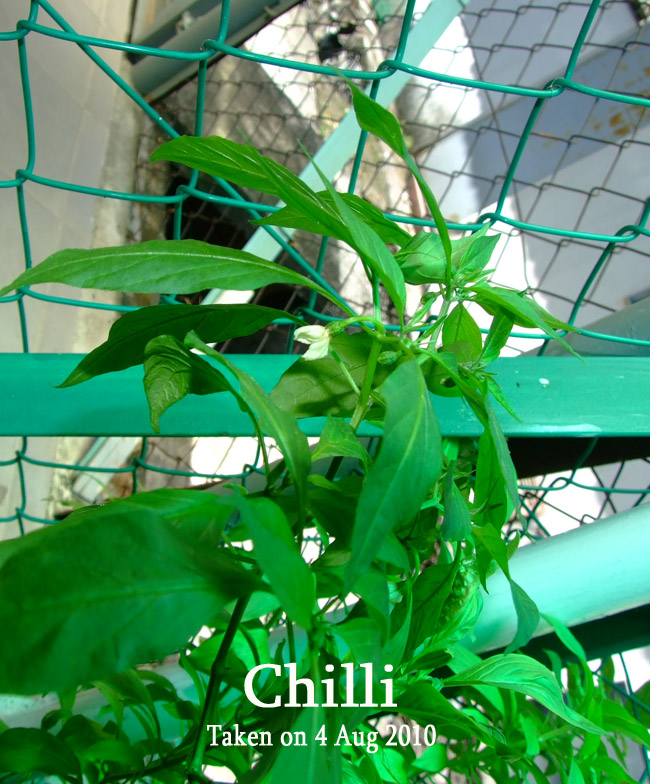
My chilli has also shown some blooms. I hope they will be pollinated and I can have more harvest of chillies.
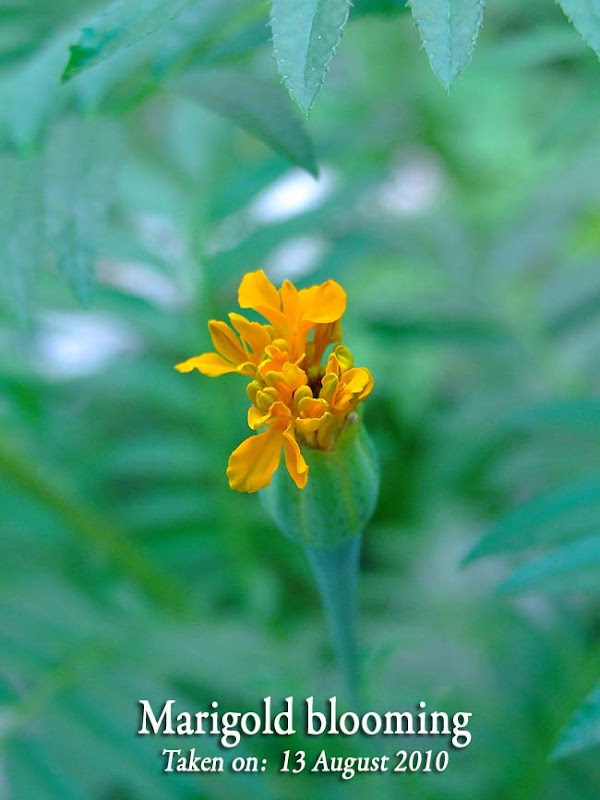
Another good news, my Marigold plant has shown its first bloom. I have grown this Marigold since April, if I am not mistaken. I got the seeds from CETDEM's Organik Day event. Now it's already August. Wow, does it really need 3 months before it blooms? Isn't that a bit too long? What is your experience in growing Marigold like? I am looking forward to the sunny yellow or orange bloom that I hope would brighten up my vegetable bed.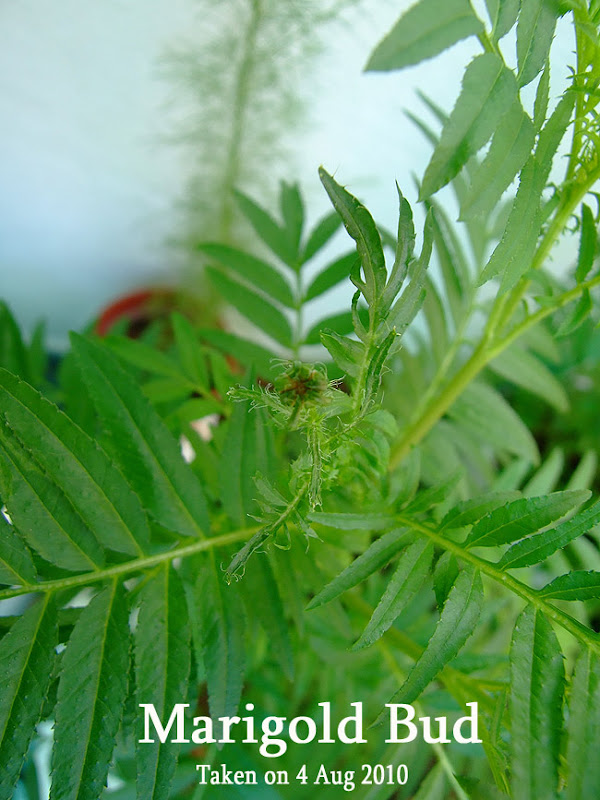
Tuesday, August 3, 2010
Bamboo ~ An Oriental Touch


Going online to do some internet search, I found some key points that one needs to take note when growing bamboo. If you are keen to grow bamboo trees, do take note!
Basic Information About Bamboo
=========================
Bamboo is a grass (subfamily Bambusoideae within the family Gramineae). It
can range in size from inches to over 100' and can grow a foot or more a day.
Bamboo is one of the most useful plants grown in the world. It's used as food,
building material, animal fodder, ornamentation and screening. They are
recognizable by their nodes, the joints between the hollow segments of the
branch or culm.
The easiest way to classify bamboo is to divide it into runners and
clumpers.Clumpers or sympodial bamboos will expand, just like any
other perennial plant. However clumping bamboos have a limited root structure
and cannot creep more than a few inches per year. They will expand each year and
won't grow to mature height unless they are allowed to reach their desired
circumference. Most of the clumping bamboos are tropical plants, but some of the
Fargensia genus exhibit enough cold hardiness to survive done to Zone 4.Runners are what make gardeners run for cover. Running or
monopodial bamboos spread by underground rhizomes and can cover great distances.
Since they are all connected as one plant, it can become impossible to kill off.
However the rhizomes grow at a depth of only 2 - 18 inches and can be contained
with 2 - 2 1/2' plastic edging buried around the circumference of the plant. Any
cracks or seams in the edging will allow rhizomes to get through. Most of the
temperate bamboos are runners. Temperate bamboos are used to a period of cold
weather dormancy and may suffer leaf drop if grown indoors.
Growing Bamboo: Some Key Points
===========================
- Most bamboos prefer full sun and a soil pH of around 6.0 - 6.2.
- Newly planted bamboo requires liberal watering. However, watering newly planted bamboos every day, or for longer than a few minutes can cause excess leaf drop. Well-established bamboos are rather tolerant of flooding, but newly planted bamboos can suffer from too much as well as too little water. (Ha ha this is certainly a difficult requirement for new bamboo planter to manage!)
- Lack of water is the biggest problem with growing bamboo.
- Bamboos require water to send out new culms.
- Standing water inhibits the growth of bamboo.
- Bamboo doesn't like competition from weeds.
- Taller bamboo should be staked, to prevent uprooting.
- Bamboos are evergreen and will lose and replace leaves as they grow.
- Since bamboos are grasses and are grown for their foliage. Feed them with a high nitrogen fertilizer, for instance the NPK 21:5:6 formula.
- Mulching will help control moisture and will protect cold hardy varieties in winter.
- Bamboo like other plants requires some pruning to maintain its
attractiveness. Bamboo culms live only to about 15 years. Once each year you should remove older unattractive culms and cut off any dead or unattractive branches. You can prune bamboo without fear of damaging it. Just trim so it looks attractive. Make cuts just above a node, so as not to leave a stub that will die back and look unsightly.


